# sentry
Sentry 是一个流行的错误监控平台,帮助开发者分析,修复问题,优化代码的性能。可以进行错误捕获,问题追踪,并提供问题详情,适用于多个平台,多种语言。
本章主要介绍如何私有化部署 sentry, 以及搭建 sentry 环境,实现前端监控平台的搭建。
# 私有化部署 sentry
主要采用 docker 实现部署。
# 环境需要:
- Docker 19.03.6+
- Compose 1.28.0+
- 4 CPU Cores
- 8 GB RAM
- 20 GB Free Disk Space
- git 1.8.0.0+
- python 3
dockerdocker compose安装
dockerdocker compose安装完成后启动 docker!。
sudo systemctl start docker
git,python3安装
yum install git python3
# 项目准备
此处已 sentry 22.11.0 版本为示例,可以根据自身需求安装最新版本,具体版本查看 https://develop.sentry.dev/self-hosted/ (opens new window)
/* 克隆项目 */
git clone https://github.com/getsentry/self-hosted
/* 切换分支(此处貌似不切换分支会出现问题) */
cd self-hosted
git checkout 22.11.0
2
3
4
5
# 配置 docker 镜像加速
此处尽量配置 docker 镜像加速,不然拉取资源速度很慢
推荐使用阿里云镜像加速链接 (opens new window)
# 安装项目
配置完镜像加速后,即可直接执行 shell 脚本命令
./install.sh
/* 如果 git 链接不稳,可以跳过 commit 检查 */
./install.sh --skip-commit-check
/* 提示权限不足可以执行下面这条命令对文件夹赋权 */
chmod 777 ./*
2
3
4
5
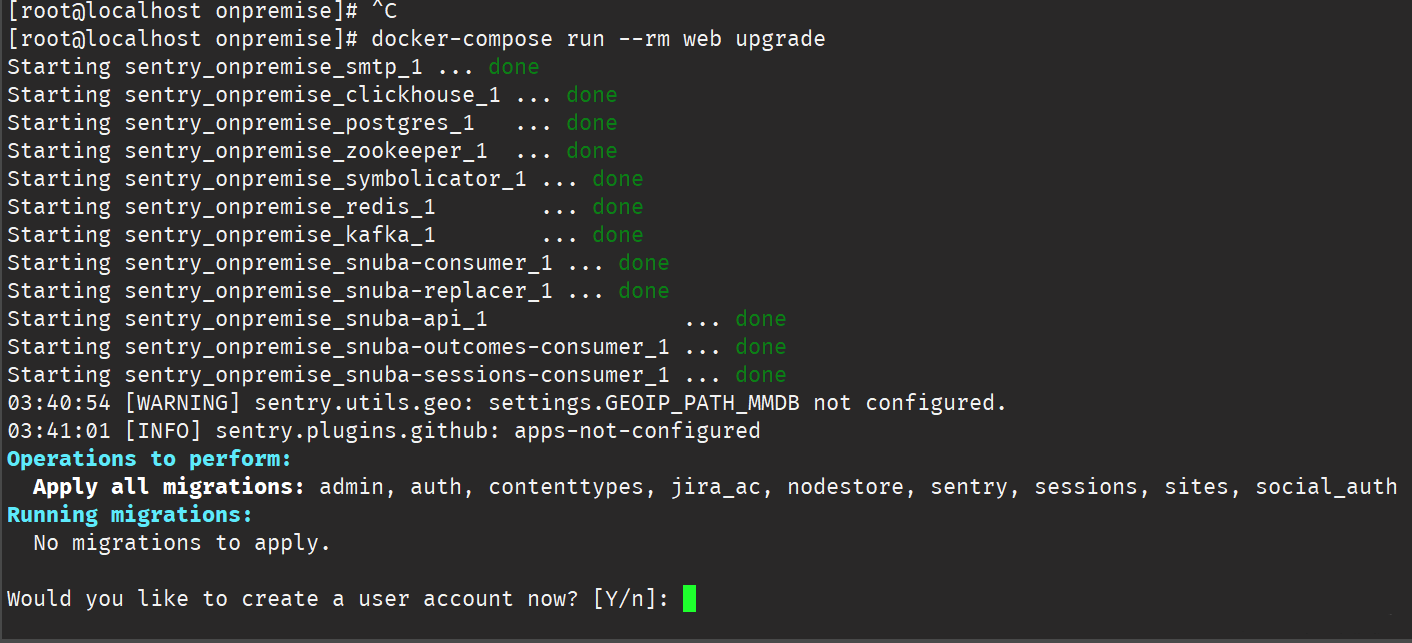
等几分钟。看到下图就是安装完成了

选择 Y ,创建一个账号和密码
不小心点了 n 咋办?
重新运行下面的命令,会在让你输入一个账户的
docker - compose run--rm web upgrade
# 运行 docker
创建账号和密码完成后,项目的基本配置就已经结束了,接下来直接运行项目即可
docker-compose up -d
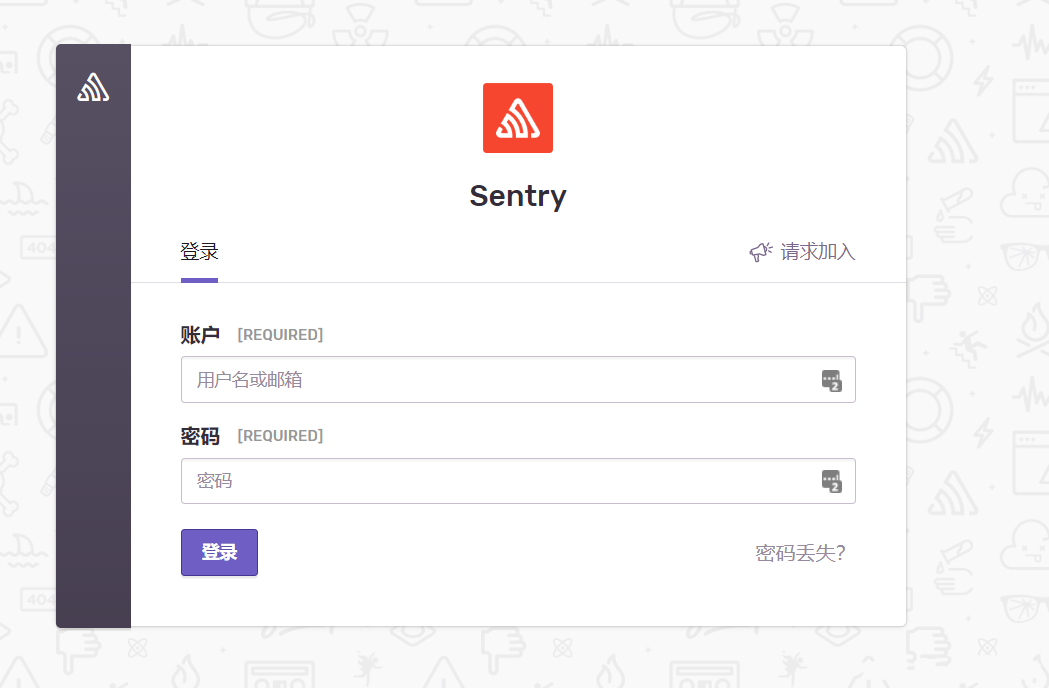
然后浏览器访问 http://{ip}:9000 , IP 改成自己服务器的 ip 地址。默认是 9000 端口

# Vue3.0 集成 sentry
# 下载依赖
- @sentry/vue
- @sentry/tracing
- vite-plugin-sentry
yarn add @sentry/vue @sentry/tracing
# 引入依赖
在 /src/mian.ts 中引入依赖包,此处可查看sentry 官方教程 (opens new window)
import { createApp } from "vue";
import { createRouter } from "vue-router";
import * as Sentry from "@sentry/vue";
import { BrowserTracing } from "@sentry/tracing";

const app = createApp({
  // ...
});
const router = createRouter({
  // ...
});

Sentry.init({
  app,
  dsn: "https://84e093ad22194ca8ab6eaf7a8a0d9087@o4504565504999424.ingest.sentry.io/4504565506441216",
  integrations: [
    new BrowserTracing({
      routingInstrumentation: Sentry.vueRouterInstrumentation(router),
      tracePropagationTargets: ["localhost", "my-site-url.com", /^\//],
    }),
  ],
  // Set tracesSampleRate to 1.0 to capture 100%
  // of transactions for performance monitoring.
  // We recommend adjusting this value in production
  tracesSampleRate: 1.0,
});

app.use(router);
app.mount("#app");
2
3
4
5
6
7
8
9
10
11
12
13
14
15
16
17
18
19
20
21
22
23
24
25
26
27
28
29
# 生产模式上传 SourceMap
在生产环境中上传 SourceMap 以方便定位出现问题的源码位置, 此处可查看官方配置教程 (opens new window)
/* 安装依赖 */
yarn add vite-plugin-sentry
2
// vite.config.ts
// other declarations
import type { ViteSentryPluginOptions } from "vite-plugin-sentry";
import viteSentry from "vite-plugin-sentry";

/*
  Configure sentry plugin
*/
const sentryConfig: ViteSentryPluginOptions = {
  url: "https://sentry.io",
  authToken: "<SECRET_TOKEN_HERE>",
  org: "my_org",
  project: "my_project",
  release: "1.0",
  deploy: {
    env: "production",
  },
  setCommits: {
    auto: true,
  },
  sourceMaps: {
    include: ["./dist/assets"],
    ignore: ["node_modules"],
    /**
     * This sets an URL prefix at the beginning of all files.
     * This defaults to `~/` but you might want to set this to the full URL.
     * This is also useful if your files are stored in a sub folder. eg: url-prefix `~/static/js`.
     */
    urlPrefix: "~/assets", // url前缀:该参数应设置为源码映射文件的url前缀。可参考下面注意事项
  },
};

export default defineConfig({
  // other options
  plugins: [viteSentry(sentryConfig)],
  build: {
    // required: tells vite to create source maps
    sourcemap: true,
  },
});
2
3
4
5
6
7
8
9
10
11
12
13
14
15
16
17
18
19
20
21
22
23
24
25
26
27
28
29
30
31
32
33
34
35
36
37
38
39
40
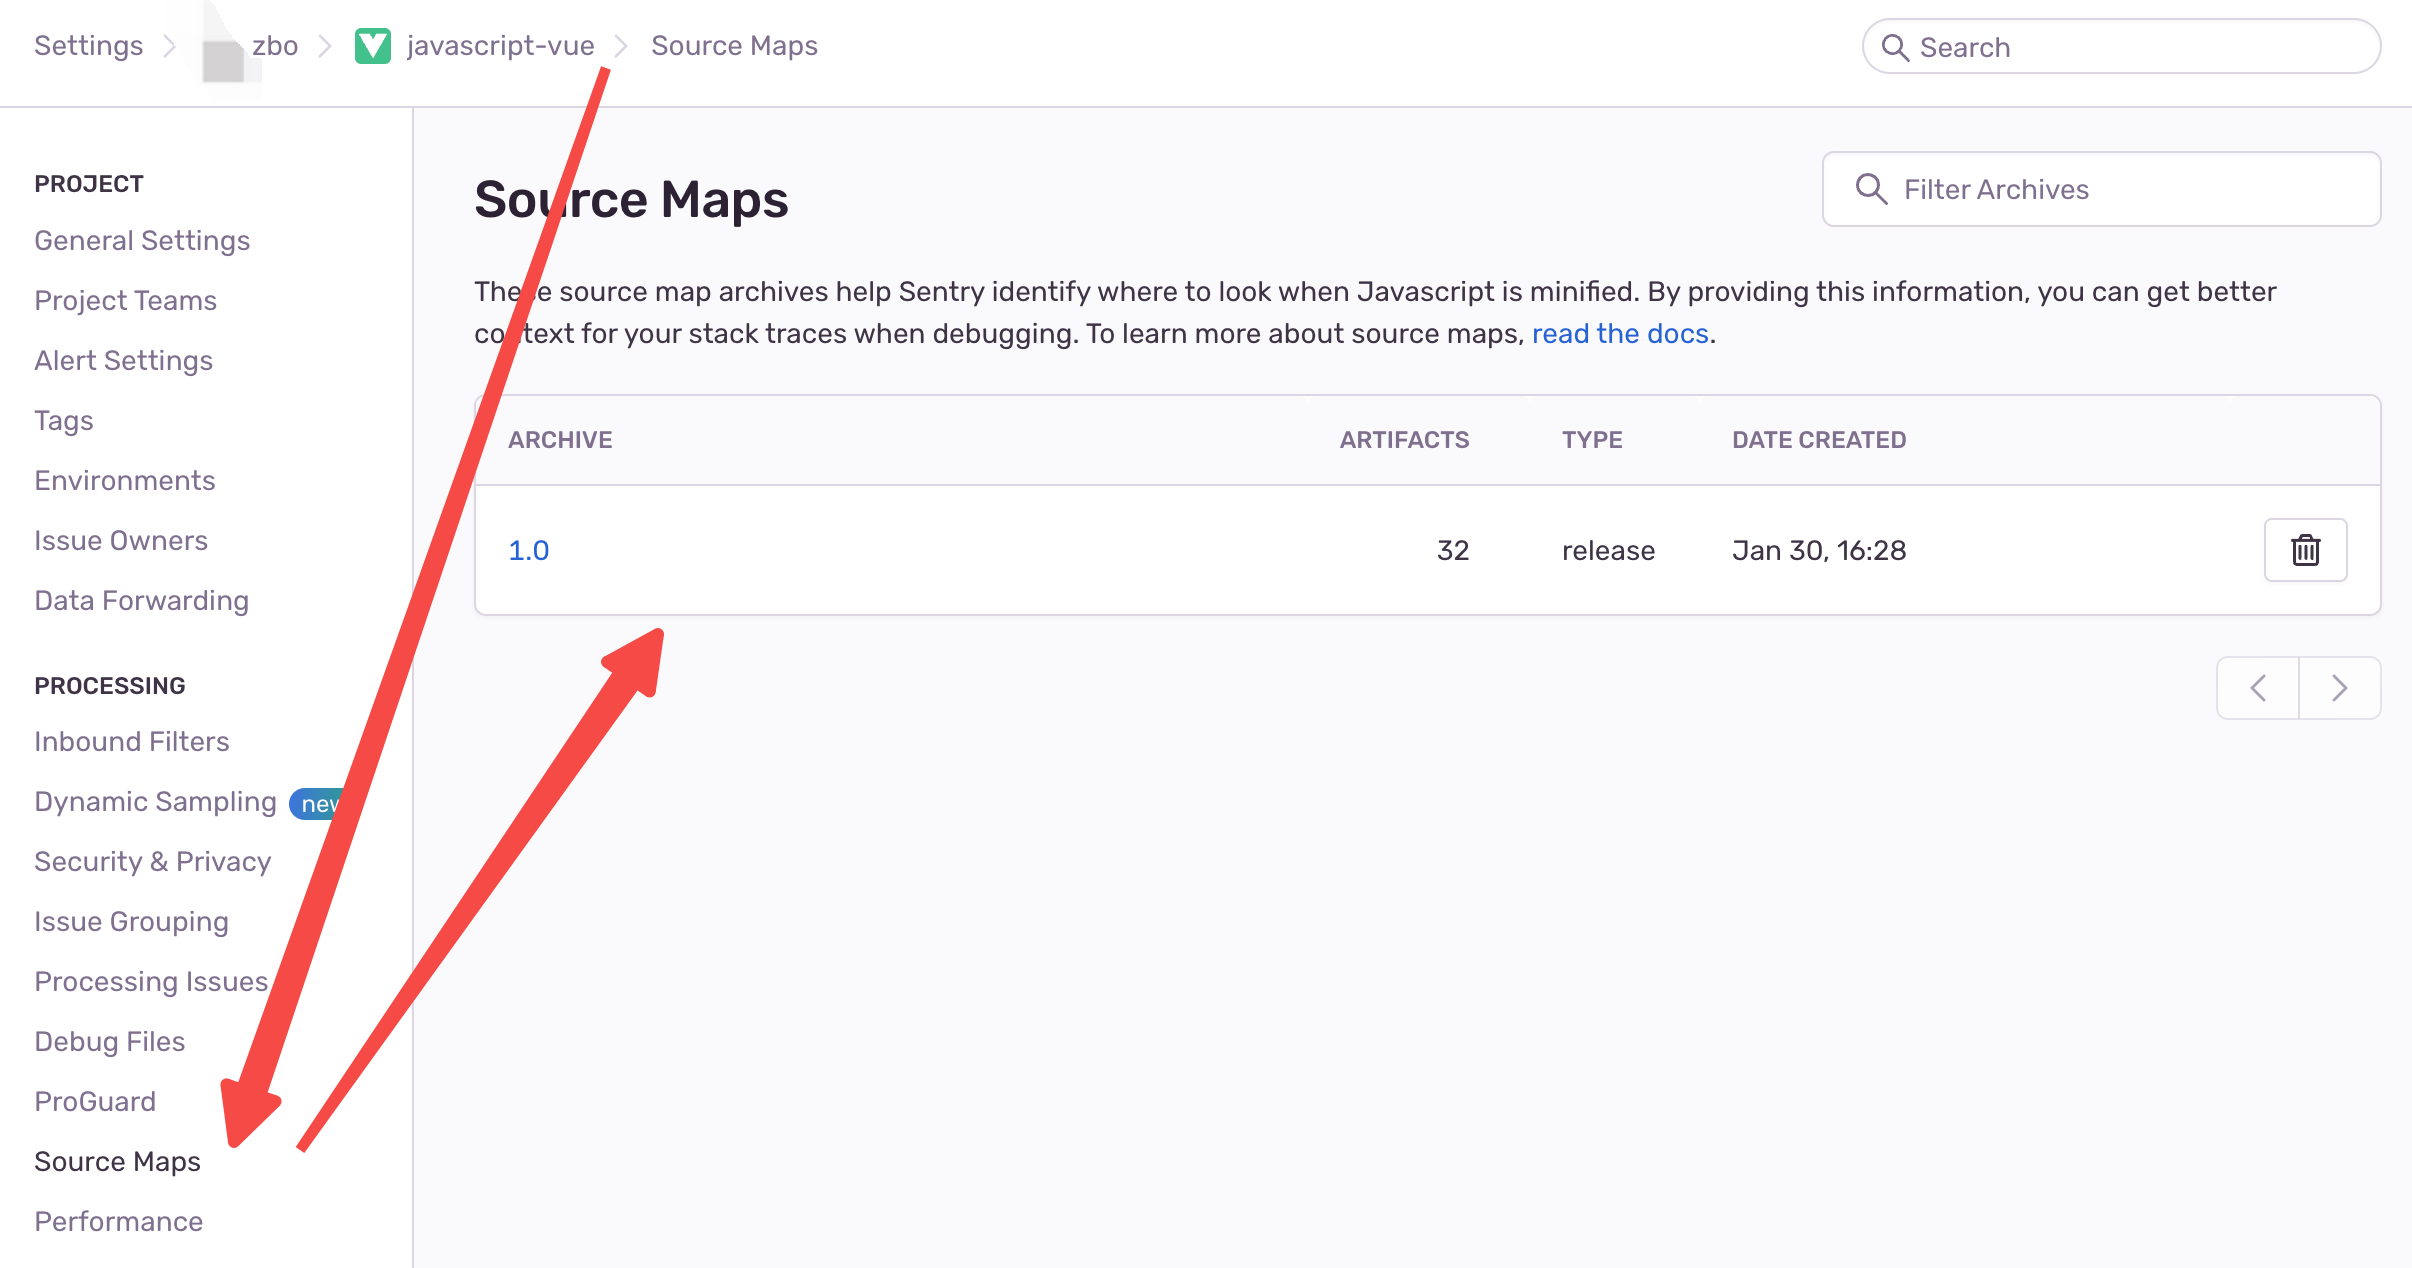
上传成功后,可在 sentry 平台 Project -> settings -> Source Maps 中查看 SourceMap 是否上传成功

当看到 soucemap 确实上传成功后,并不代表源码映射已完成,可能此时看到的错误仍然无法准确的映射到源码。
此处需要几个方面来排查,sentry 也提供了一些工具来帮助我们验证和检查源码映射。Sentry Validating Files (opens new window)
注意事项其实最有可能出现映射异常的问题就是 `urlPrefix` 参数设置失败,下面用举例的方式来说明该参数如何配置:
比如我们的 js 文件访问地址为:http://www.pipef.top/vue3admin/assets/index.73cac8e8.js
那么此处 urlPrefix 应该设置为 ~/vue3admin/assets
TODO:
- 配置 ssl, 并解决 User. IP 不能正常展示问题
- 性能指标的一些专业术语解释
# 参考文献
← 前端部署优化策略总结 Docker →